As you know, we are using Eportfolios with the Aesop Story Engine enabled for our New York Dreams public site.
As I mentioned last night, the user interface of Aesop unfortunately leaves a lot to be desired, making for a poor user experience (or “UX,” as the cool kids put it).
So I thought I’d make some resources available here to help you create your stories with additional components, such as pull quotes, video, images, maps, and more. That way, you hopefully won’t have to do too much of this:
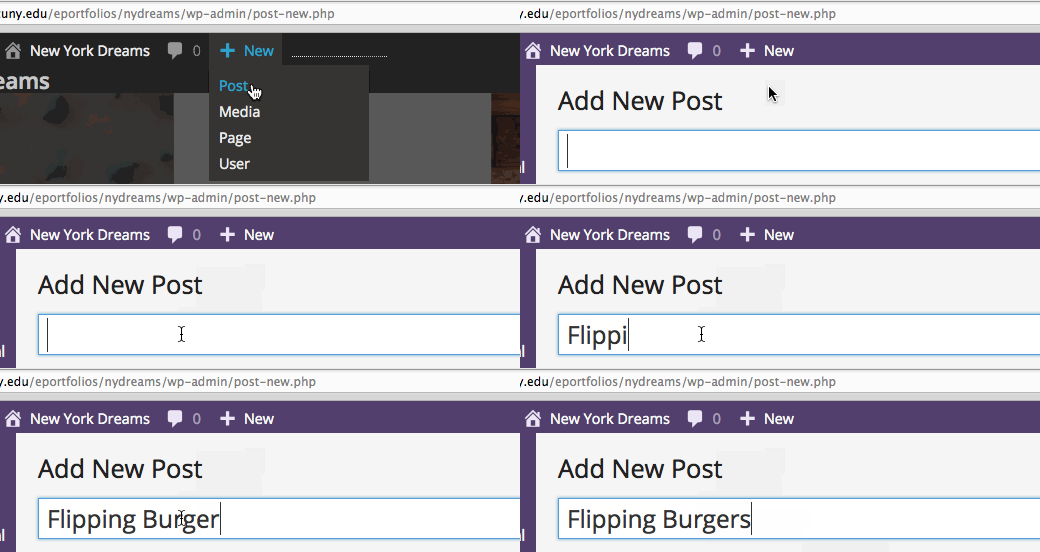
Step 1: Create a New Post
Nothing surprising here.

Step 2: Set a Subhead
Enter your subhead in the “Excerpt” field. If it does not appear on your screen, you may have to enable it first.

Step 3: Set a Featured Image
The featured image becomes the image background for your story tile on the landing page as well as the cover image at the top of your story. Make sure to use a wide, high-resolution image. If you took an image yourself, great. Otherwise, you can use public domain or Creative Commons stock images. Make sure to add an attribution if required.

Step 4: Add Your Copy
This is pretty obvious, though it might help to enable “Paste as Text” mode if your text contains weird formatting (e.g., differing font sizes and faces) that you want to get rid of.

Step 5: Add Components
This is where the Aesop engine comes in! Most Aesop functions are accessible by clicking on the “Add Component” button.

Pull quotes
First, let’s use the pull quote component. There are lots of options you can play with, but the most important thing is to enter in the quote.

Adding components generates shortcodes in square brackets, in this case [[aesop_quote]]. If you have to change the text in the quote, it’s probably easiest to edit the text inside the shortcode.
Please feel free to play around with the options. You can’t really break anything.
Videos
I’ll show you how to embed a video from an external source, in this case YouTube.

Audio
I’m not sure which audio formats Aesop supports, but to play it safe, try to use common formats like MP3.

Note that if you want a component to appear in a different part of your story, it’s as easy as cutting and pasting the shortcode (the stuff in the square brackets) to a different part of your post.
Map
This is definitely the most confusing and poorly developed feature. You have to figure out the latitude and longitude where you want your map centered. One way to do so is by using Open Street Map, as I do in the screencapture below. Try out different zoom levels. For a neighborhood map, something between 13 and 15 should work. You can also set the height of the map (in pixels). Something between 240 and 640 is probably good.

You can also add markers to your map, in which case you also have to find out the lat and long and manually enter them. Even more confusing :(

Feel free to ask me for help, especially with this last part. In general, please take time to explore the various options!
